Running the Measurement Import Wizard
The tutorial data has made use of the REW file export naming technique of the previous section. If you haven't done so already, please download and unzip the tutorial data files to a directory of your choice. The data includes twelve text files, representing four subwoofers measured at three listening positions. There are no main speaker measurements in this data collection, so we'll end up creating a "sub-only" configuration when we run the Configuration Wizard.
Note: Although it makes no difference to the operation of MSO, if you want your MSO main window display to match the images in the tutorial (such as this one), go to the left pane of the MSO main window and click on the Data View tab to make it the active tab before launching the Measurement Import Wizard.
Launch the Measurement Import Wizard
From the File menu, choose Measurement Import Wizard... This will launch the wizard as shown below.
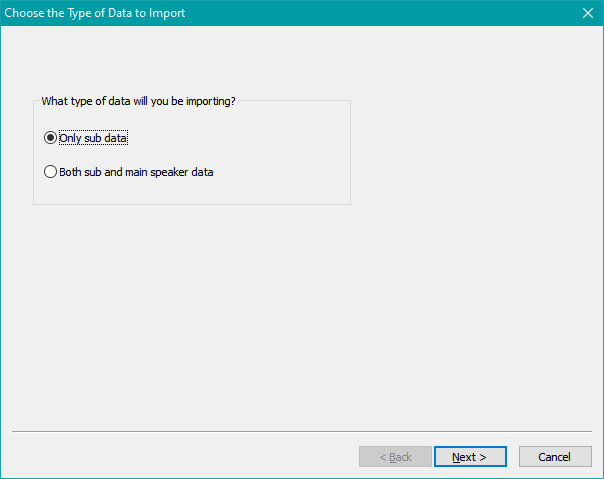
Since we're only dealing with subwoofer data, choose Only sub data and click the Next button. The wizard page shown below will appear.
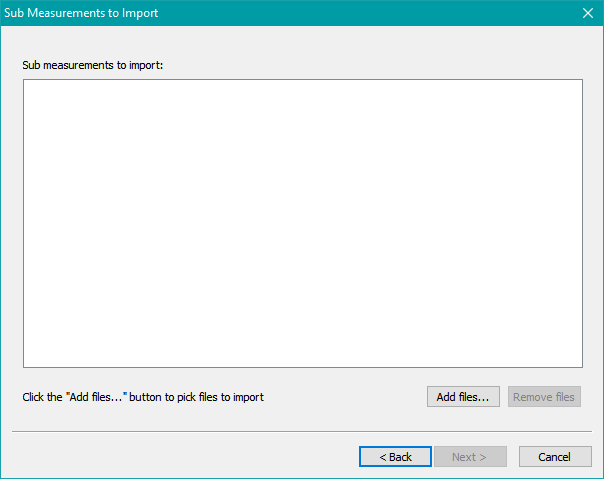
Follow the Click the "Add files..." button to pick files to import prompt. This will launch a standard Windows File Open dialog as shown below.
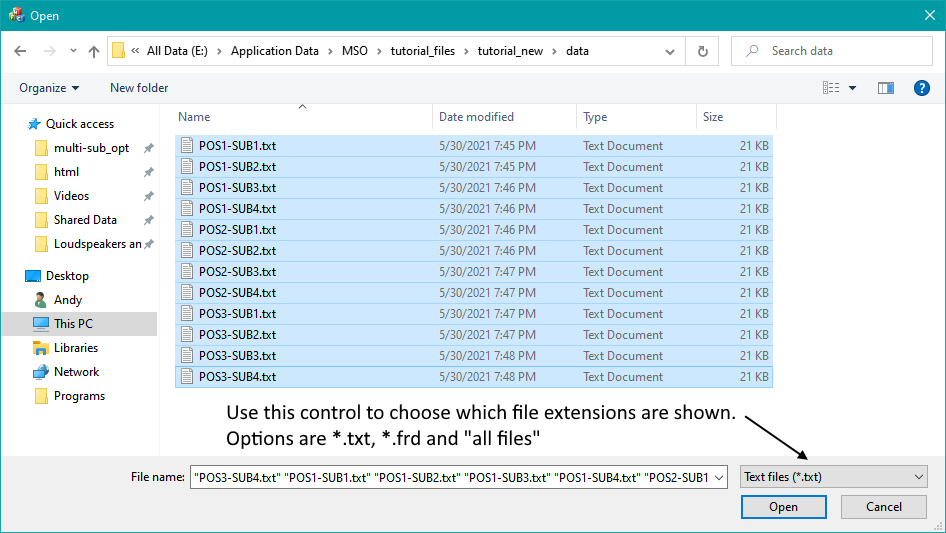
Select the files you wish to import and click the Open button. This will bring the list of files into the wizard display as shown below. Note that the data consists of four subs measured at three listening positons.
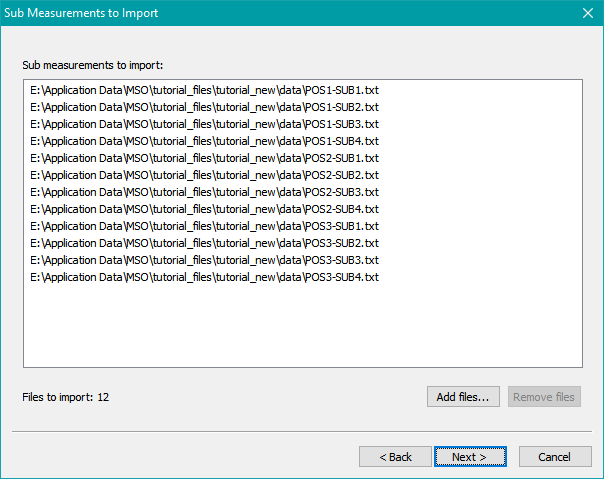
This action does not actually import the files. The wizard allows you to check to make sure you have all the file names you need and that they are the correct ones. If you're missing some file names, click the Add files... button again and add the missing ones. If you accidentally choose some wrong file names, select them and click the Remove files button. When you're satisfied you have all the file names and that they are the correct ones, click the Next button. The wizard page below will appear.
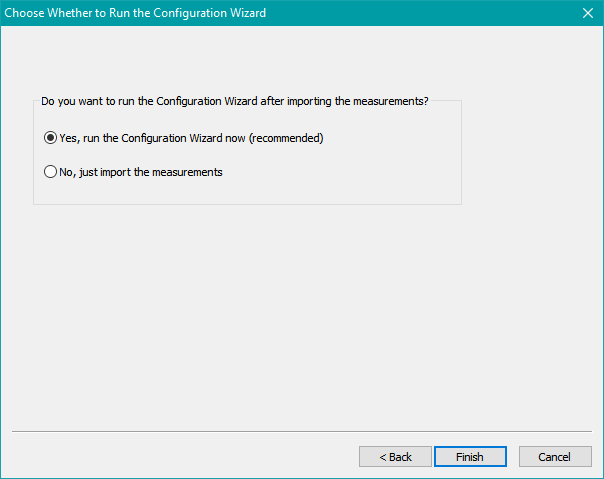
Here, you can either choose to launch the Configuration Wizard after the Measurement Import Wizard completes, or just import the measurements. If you choose the latter option, the measurements will be imported, but the Configuration Wizard will not be launched. In that case, you can still launch the Configuration Wizard later by choosing Config, New From Wizard... from the main menu.
For this tutorial, we'll choose the option to launch the Configuration Wizard, since we wish to demonstrate the full extent of the wizard-driven approach to the creation of MSO configurations. Choose the recommended option to launch the Configuration Wizard, then click Finish. This will cause the measurement data from the files whose names we picked earlier to be imported. Then the Configuration Wizard will be launched.
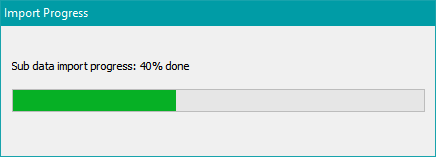
After pressing Finish, a progress dialog like the one below will be briefly shown during the time the measurements are being imported. If you have a slow computer or if your data files cover the full audio frequency range, this dialog might appear for a couple of seconds. It will be automatically dismissed when measurement import is complete.
Once the measurement import is complete and the progress dialog dismissed, the Configuration Wizard will be launched.