A Preliminary Look at Graphs
Here we'll cover the simple graph changes you'll probably want to make after completing the Configuration Wizard. When you click the Finish button of the Configuration Wizard, it creates the configuration and a graph of the computed responses at the listening positions you defined. If you chose the Launch Graph Properties dialog when done option on the last page of the Configuration Wizard, the Graph Properties dialog will be launched as in the figure below.

Modifying the Graph Properties
Choose Axes on the left side of this dialog to show the settings for the graph axes. By default, the x-axis is set to manual scaling, with a frequency range from 20 Hz to 200 Hz. The y-axis is set to automatic scaling to ensure all the traces are visible. This situation is shown below.
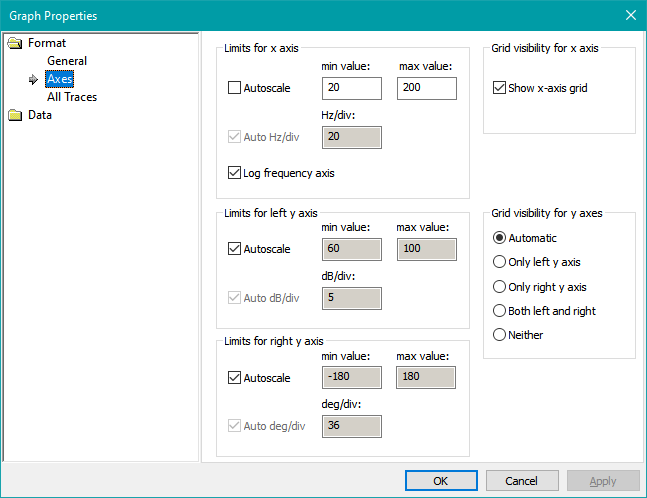
We'll do a couple of minor adjustments to the graph axis limits. The data used in this graph (from the tutorial) begins at a frequency a bit lower than 10 Hz, so we'll change the lower limit of the x-axis to 10 Hz. Also, the minimum and maximum y-axis limits are not round numbers due to the autoscaling, so we'll fix that.
For the x-axis, enter a value of 10 for the minimum value. For the left y-axis, first uncheck the Autoscale checkbox, then enter 55 for the minimum value and 110 for the maximum value. Next, uncheck the Auto dB/div checkbox, and keep the default value of 5 for the dB/div value. To see the effect of these changes without dismissing the dialog, click the Apply button. Do not click OK yet. This gives the following result.
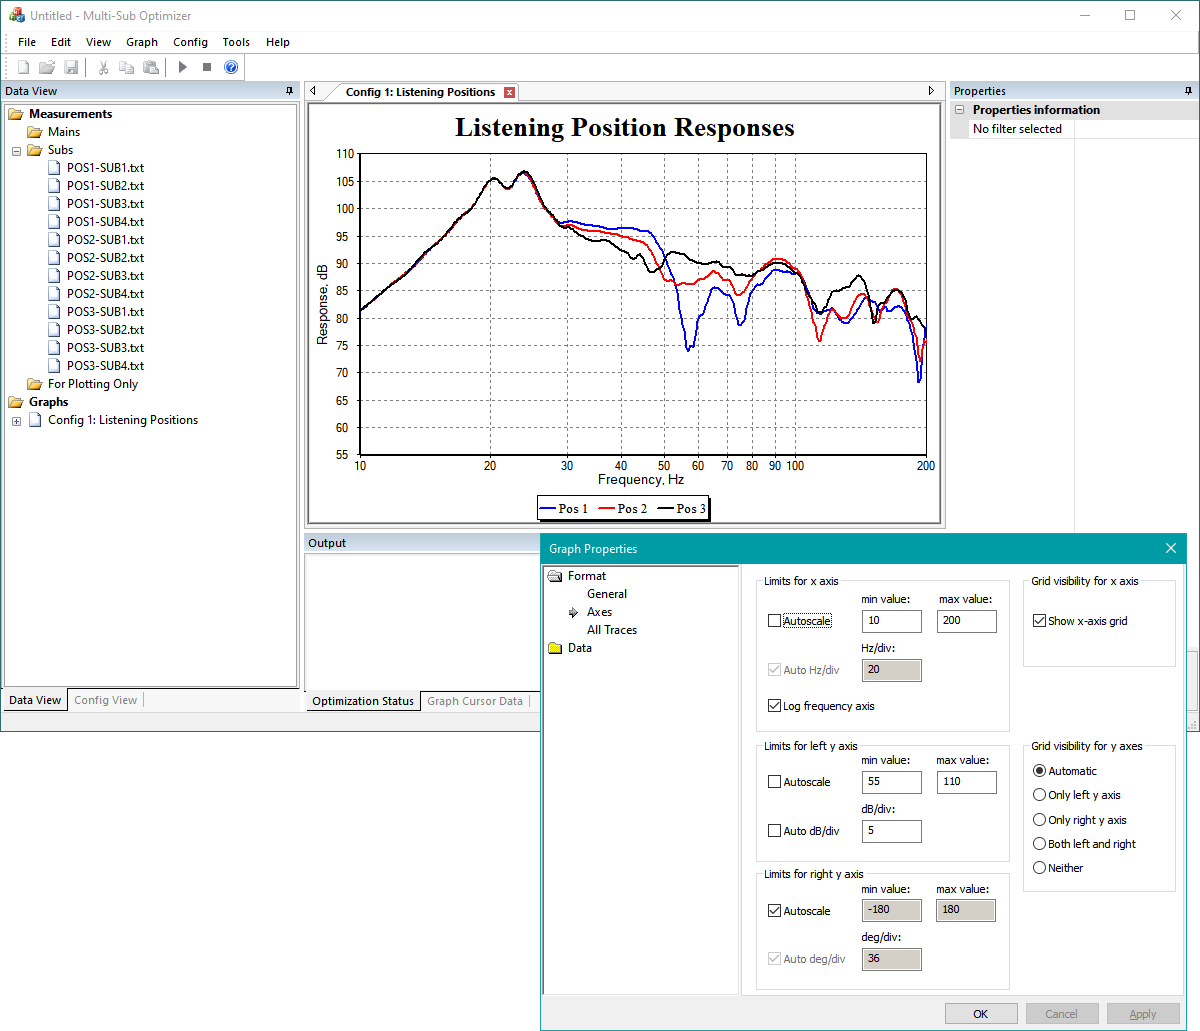
These changes are good enough for now, so click OK on the Graph Properties dialog to dismiss it.
A more thorough coverage of graphs will be given in the graph comparisons and graph details topics.
If you chose the Launch Optimization Options dialog when done option on the last page of the Configuration Wizard, the Optimization Options property sheet for the configuration you created earlier will be launched. That brings us to the next topic.